Blog Summary
This article provides a guide on how to install WordPress locally using XAMPP, a cross-platform tool that includes Apache, MySQL, PHP, and Perl. The process involves downloading and installing XAMPP, starting Apache and MySQL, downloading WordPress, creating a database in phpMyAdmin, and connecting WordPress to the database. Finally, the user sets up a WordPress user ID and password to complete the local installation, allowing for offline website development and testing.
There are many questions asked by people how we to setup WordPress offline in our computer or is it possible to install WordPress locally. Fortunately yes, you can install WordPress locally using XAMPP? Don’t worry; installing WordPress on localhost is much easy. Here we will complete Guide you how to install WordPress locally using XAMPP. With the help of Xampp you can set up a local-hosted environment for WordPress development project.
Offline Environment allows for easy development and testing, installing WordPress locally have many advantages. You can test your website before deployment to server with various Scenario like: security, SEO, Designing, Content, and much more.
The letters (XAMPP) in the name represent its core components: (Ionos blog)
- X stands for the different operating systems like Windows, Linux, or Mac that XAMPP is compatible with.
- A stands for the cross-platform Apache web server.
- The M indicates the included MySQL/Maria database.
- The two Ps in the name stand for the scripting languages Perl and PHP.
In this post, we’ll share how to install WordPress locally on Windows, Mac, and Ubuntu with Xampp.
Download and install XAMPP on your computer
To install WordPress locally, First; you will need to download Xampp from its website.
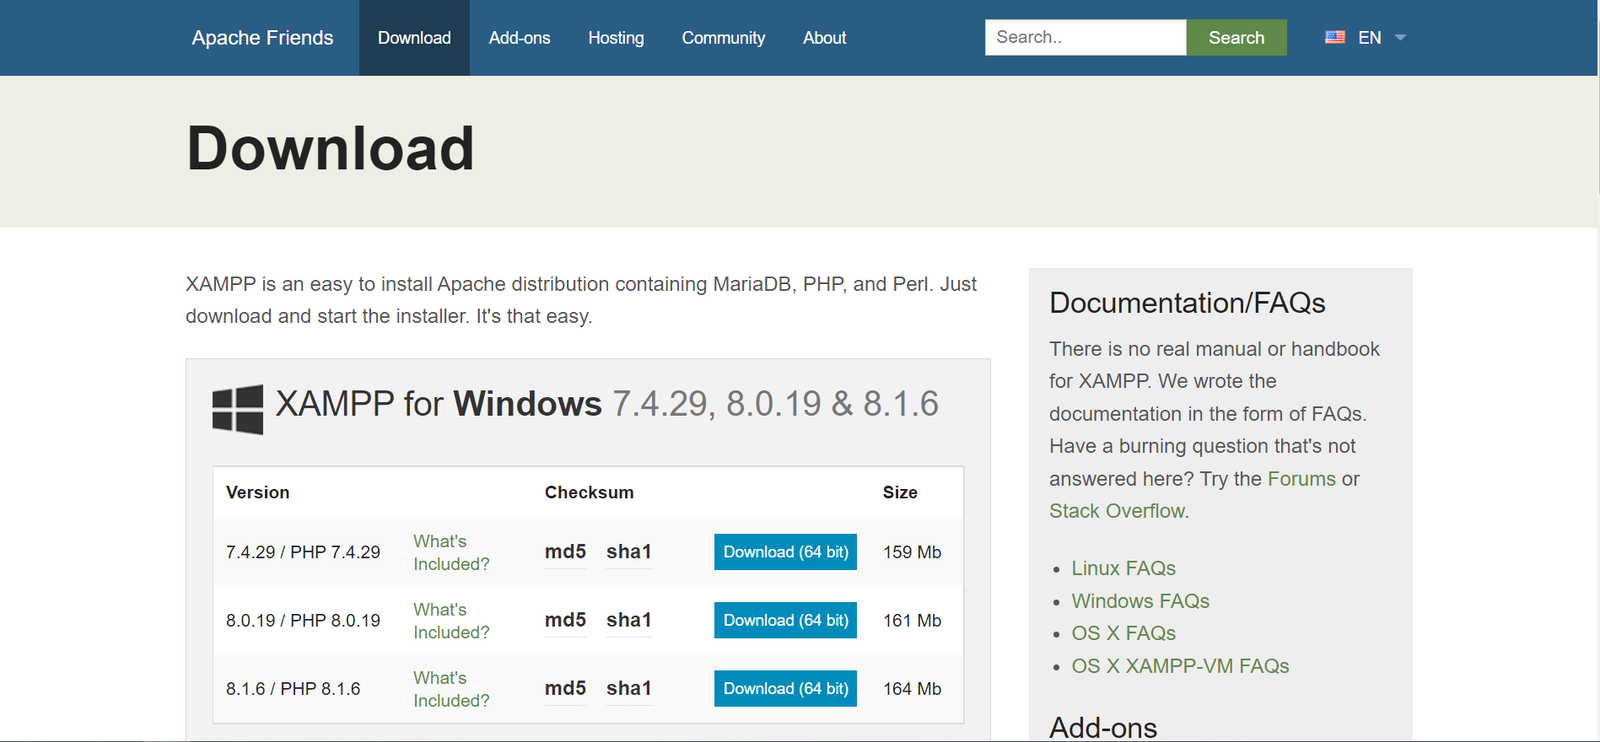
There is available for different operating system i.e. Windows, Linux and Mac.
Setup the XAMPP
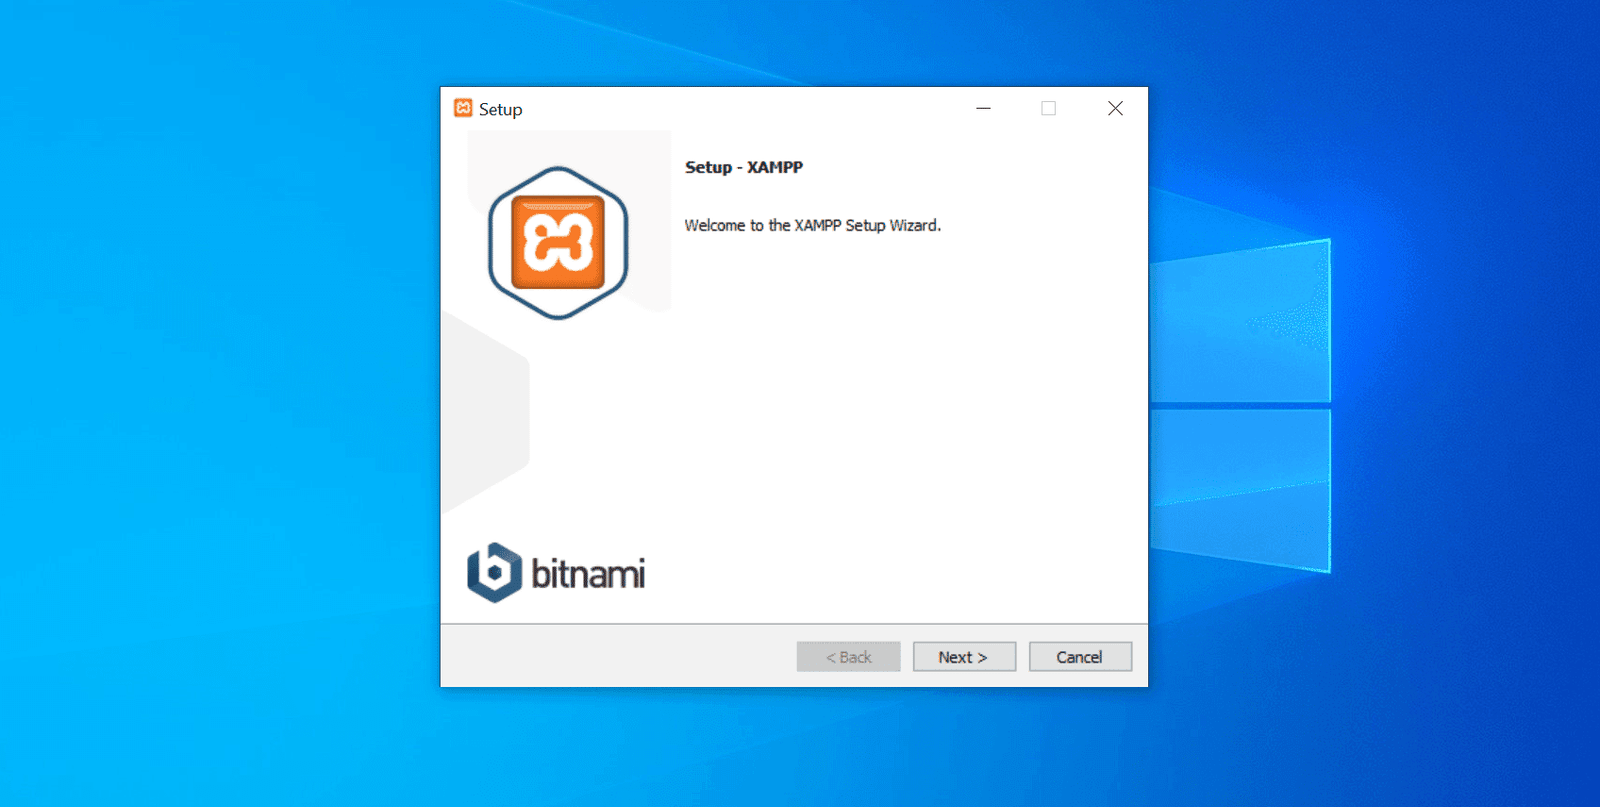
After running the installer, you’ll be asked to choose the components to install.
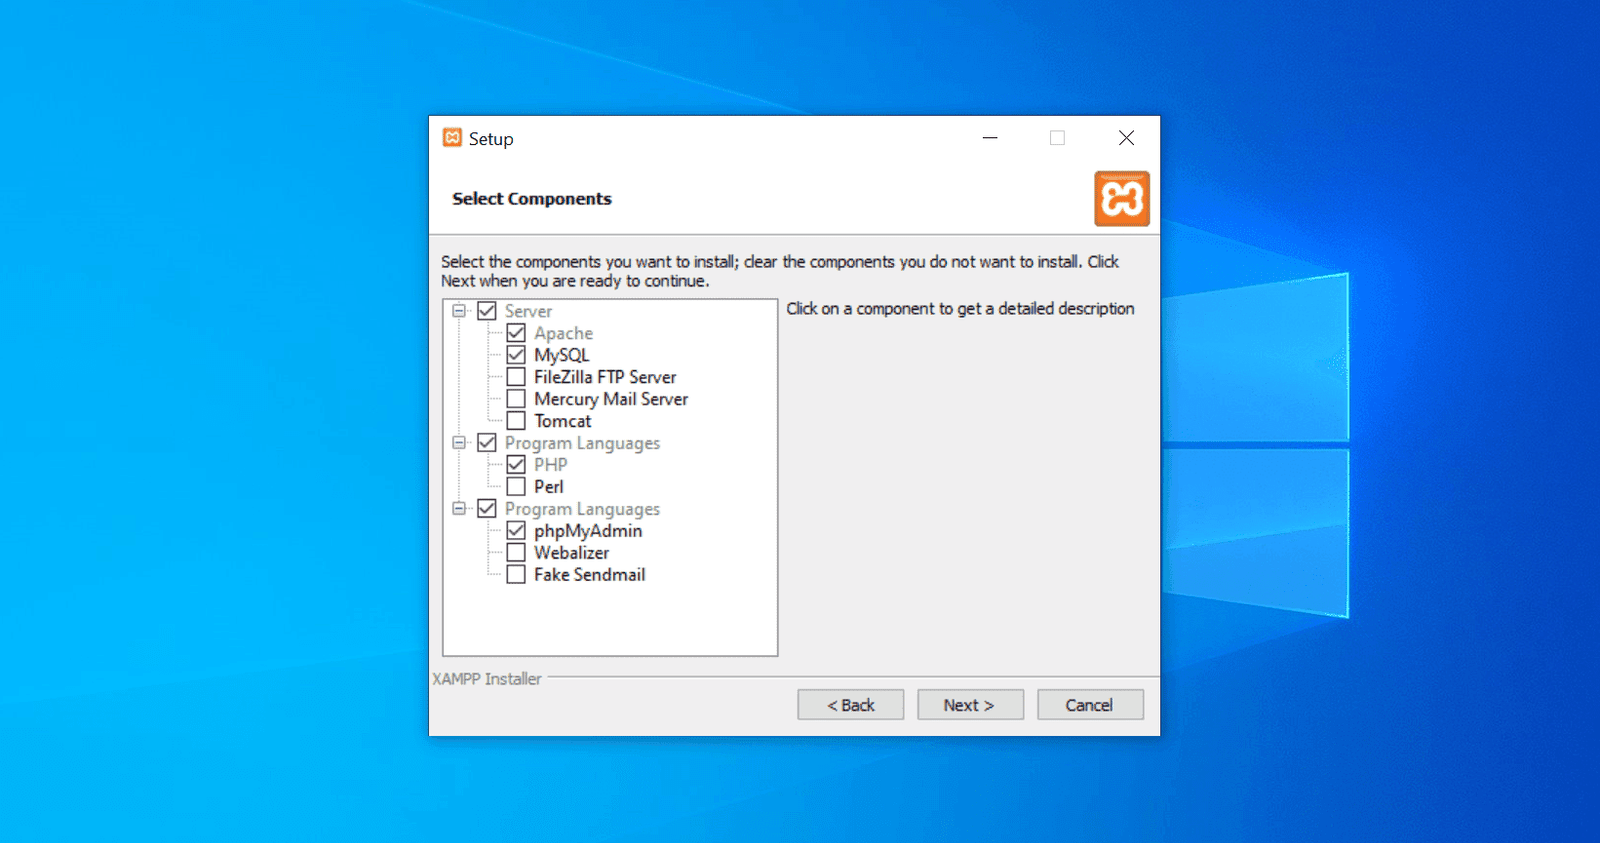
The most important ones to select are Apache, MySQL, PHP, and phpMyAdmin. You can uncheck the other components, as they are not necessary.

When you’re done, click on the Next button and select which folder you want to install XAMPP on. Click on the Next button again, ignore the Bitnami prompt (if appears),
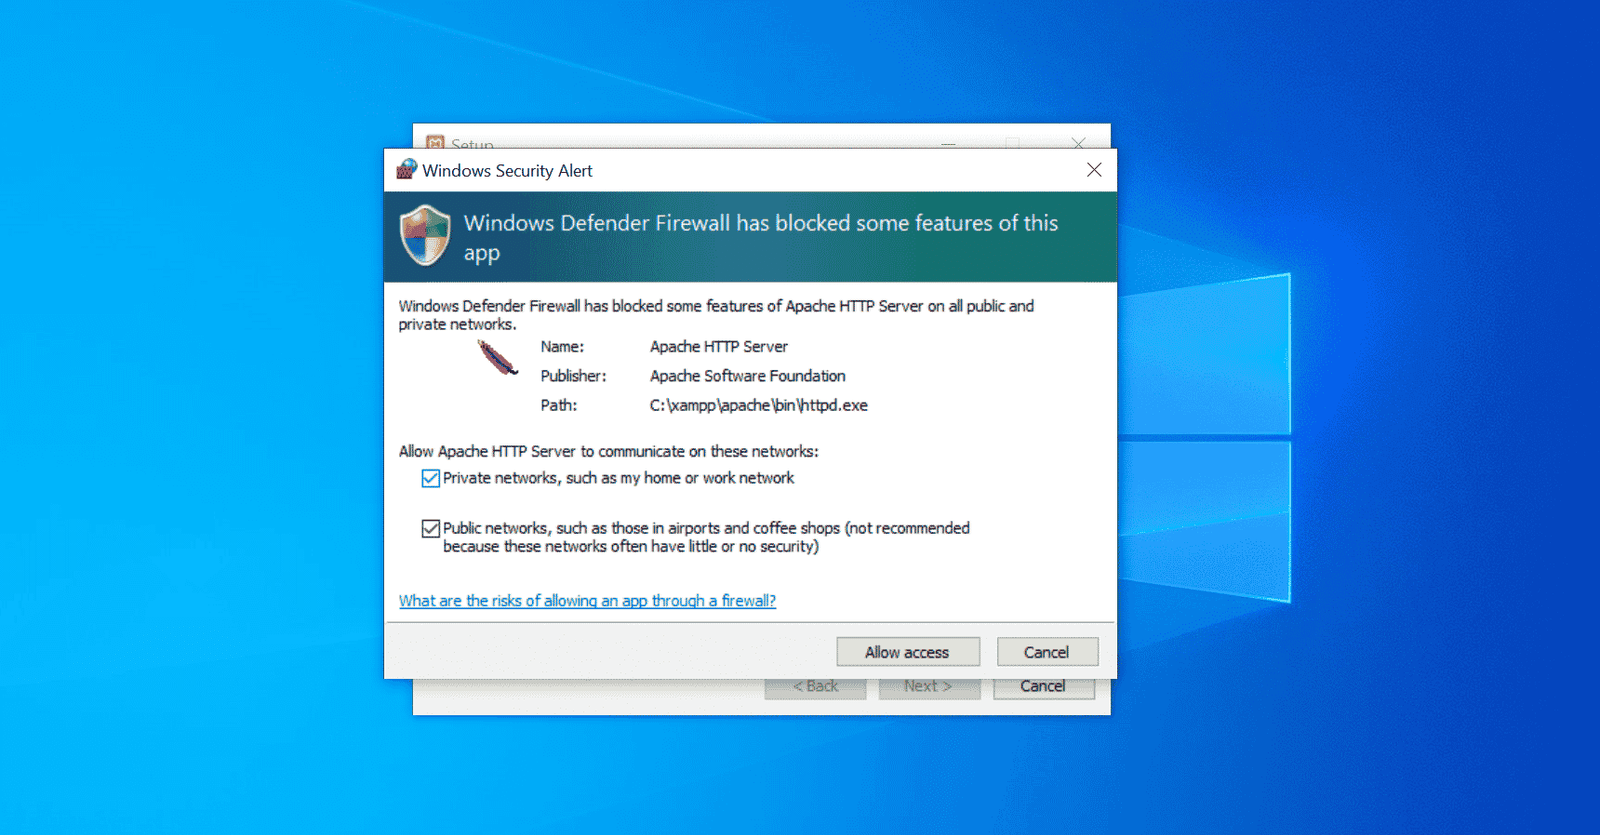
the windows firewall popup will appear for bypass the port security, tick on private network as well then select next and select Next once again wait for the installation.
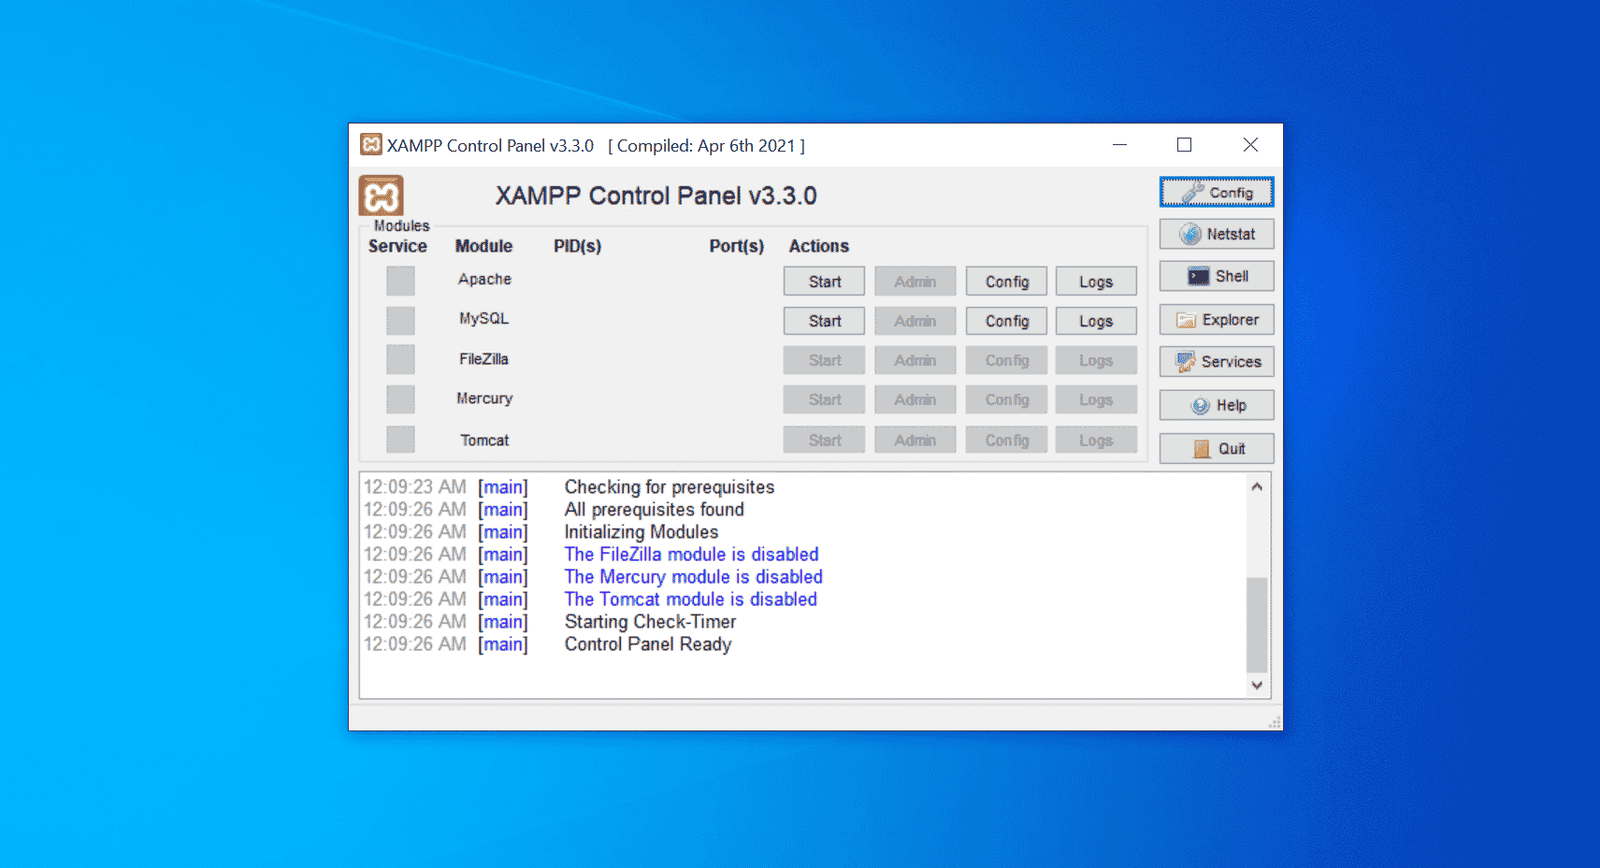
After installation on the final screen, choose to launch the XAMPP Control Panel. In the XAMPP Control Panel that opens, you can click the Start buttons next to both Apache and MySQL.
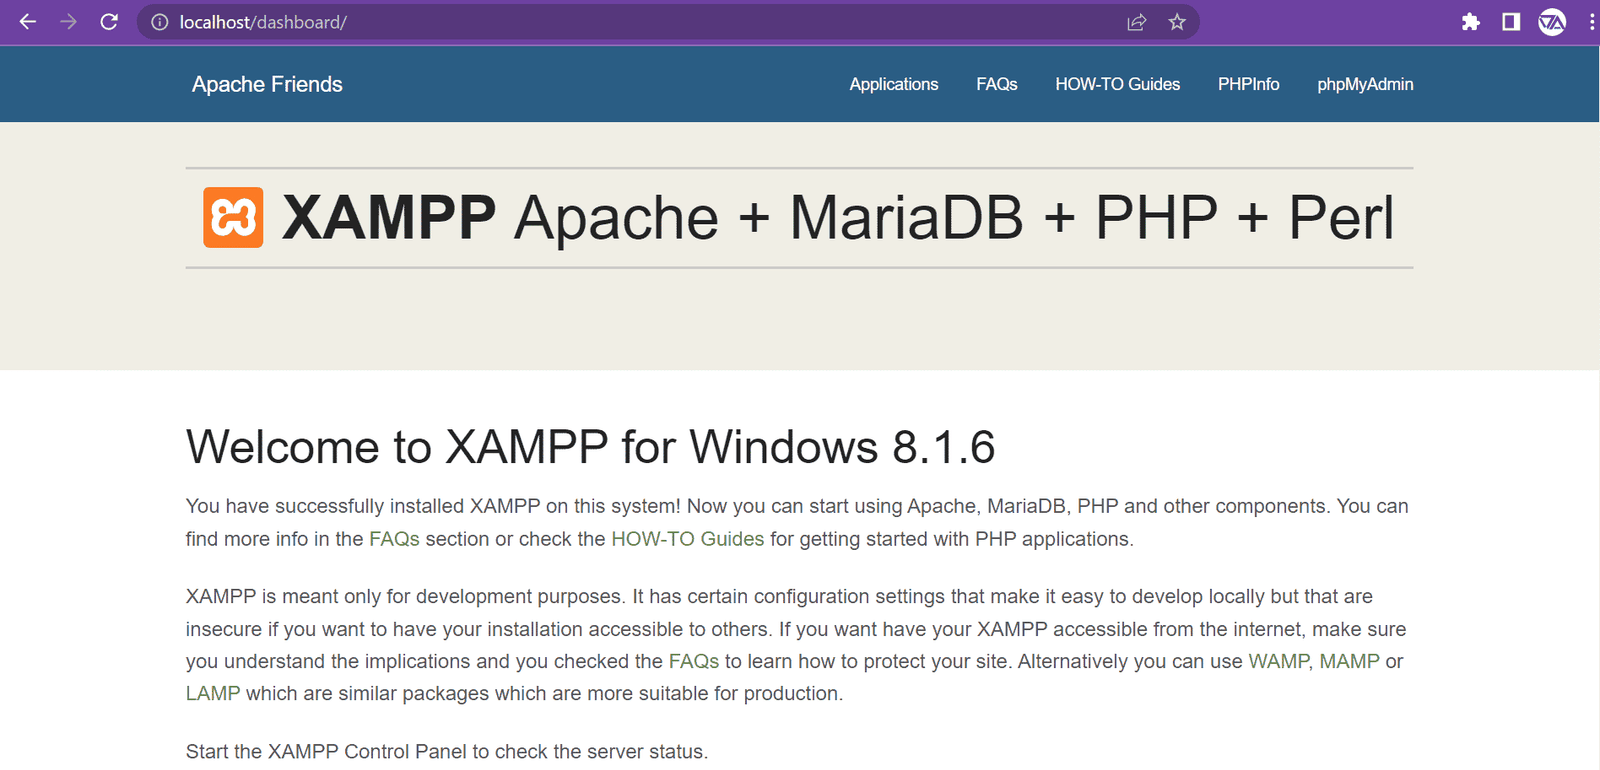
Now it’s time to test your server. You can do this by entering “localhost” into your web browser. If it works, that mean you have successfully added XAMPP in your computer.
Step by Step guide to install WordPress locally
Now its time to Launch WordPress Locally, but there are many steps left to make it complete so lets go with step by step.
Download WordPress
To run WordPress offline you need to download WordPress from its official website (WordPress.org).
After the downloading move the WordPress zip at given destination (C:/Xampp/htdocs) or where you installed Xampp… Unzip the WordPress and rename it as per need.
Create Database
First you need to create a database in phpmyadmin to store the data and make connectivity with WordPress.
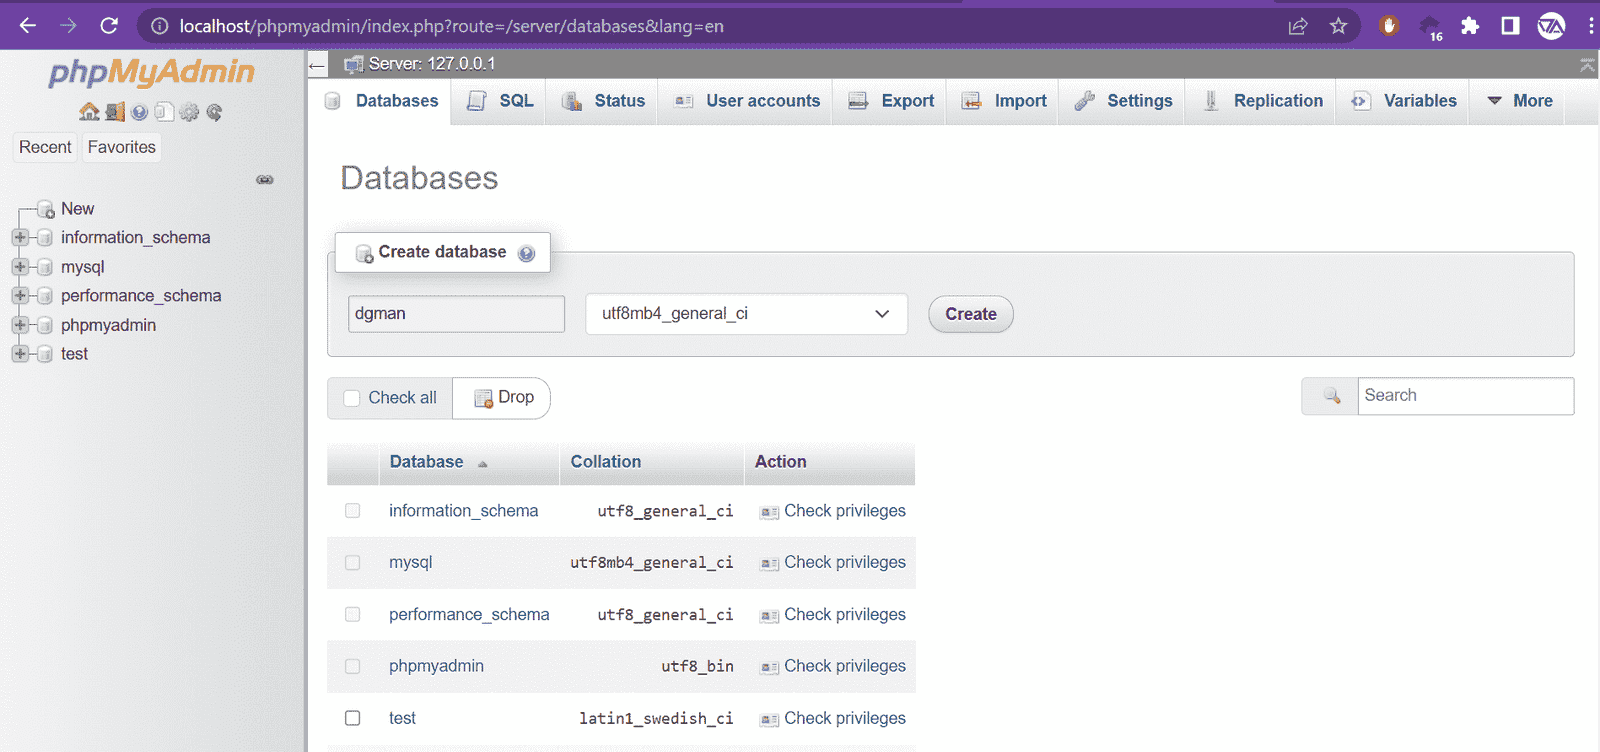
To create the database first type “localhost/phpmyadmin” in web browser and select database then type the name (as per choice) and create database. Your database will visible on the left of database tree.
Connect with database
Now time to connect database with wordpress, type “localhost/demo” (demo is the wordpress folder which is rename) in your web browser and then select your regional language from the list and click next.
the main screen will appear where it will asked you to few details to connect.
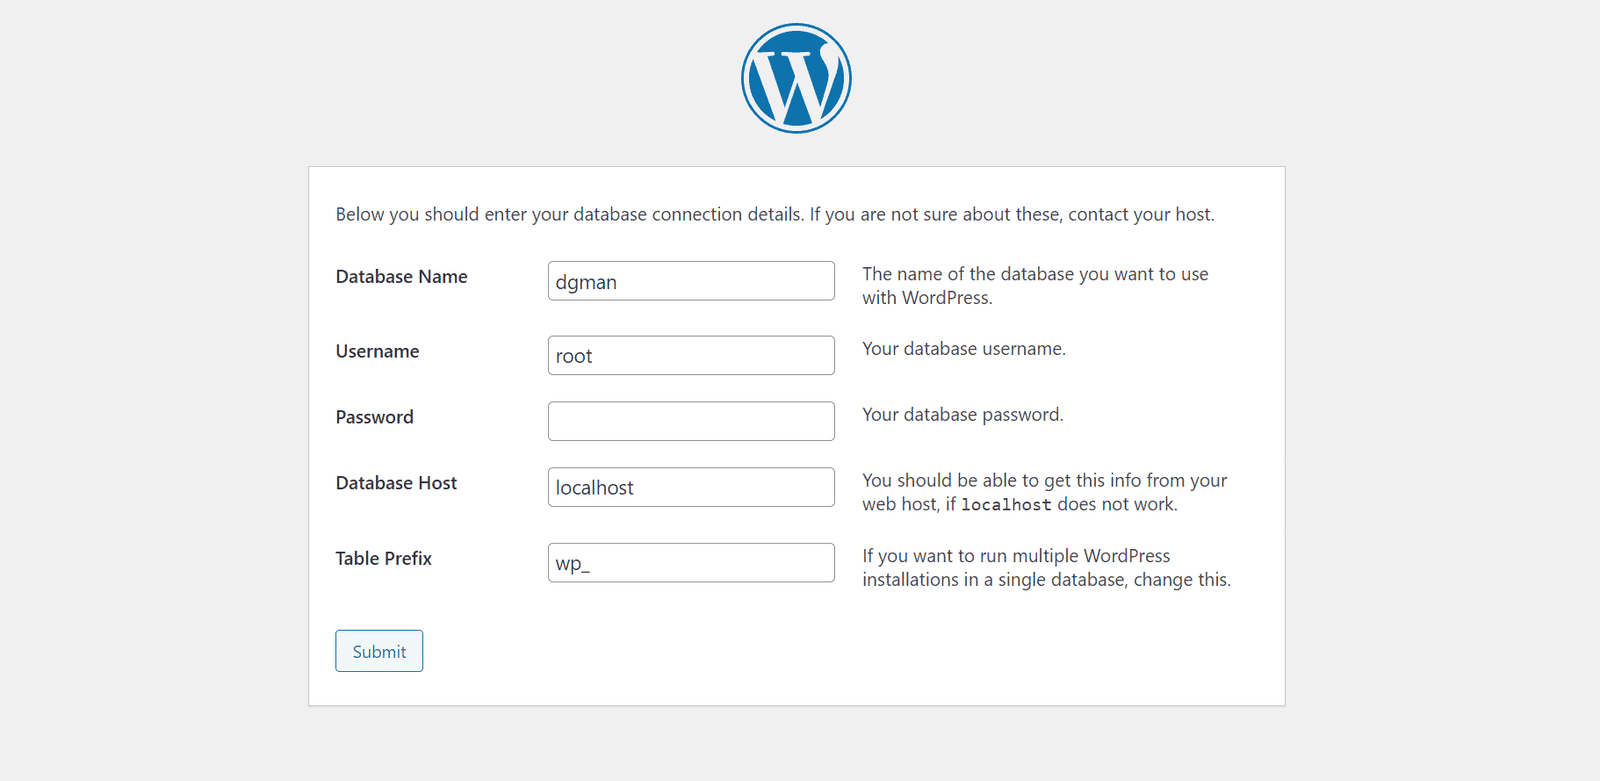
Lets describe one by one for better understanding: first type the database name which you created that time, to make sure the name of database (visit again localhost/phpmyadmin to check the name). Username will be root (default), Password will be blank, database host will be localhost, and table prefix will be wp_ (default) you can change this to make secure better, then Submit.
Database name = your database name
Username = root
Password = blank
Database host = Localhost
Table prefix = wp_ (this can be change for make secure better.)
ID and Password Setup
It time to create User ID and pass for the wordpress setup.
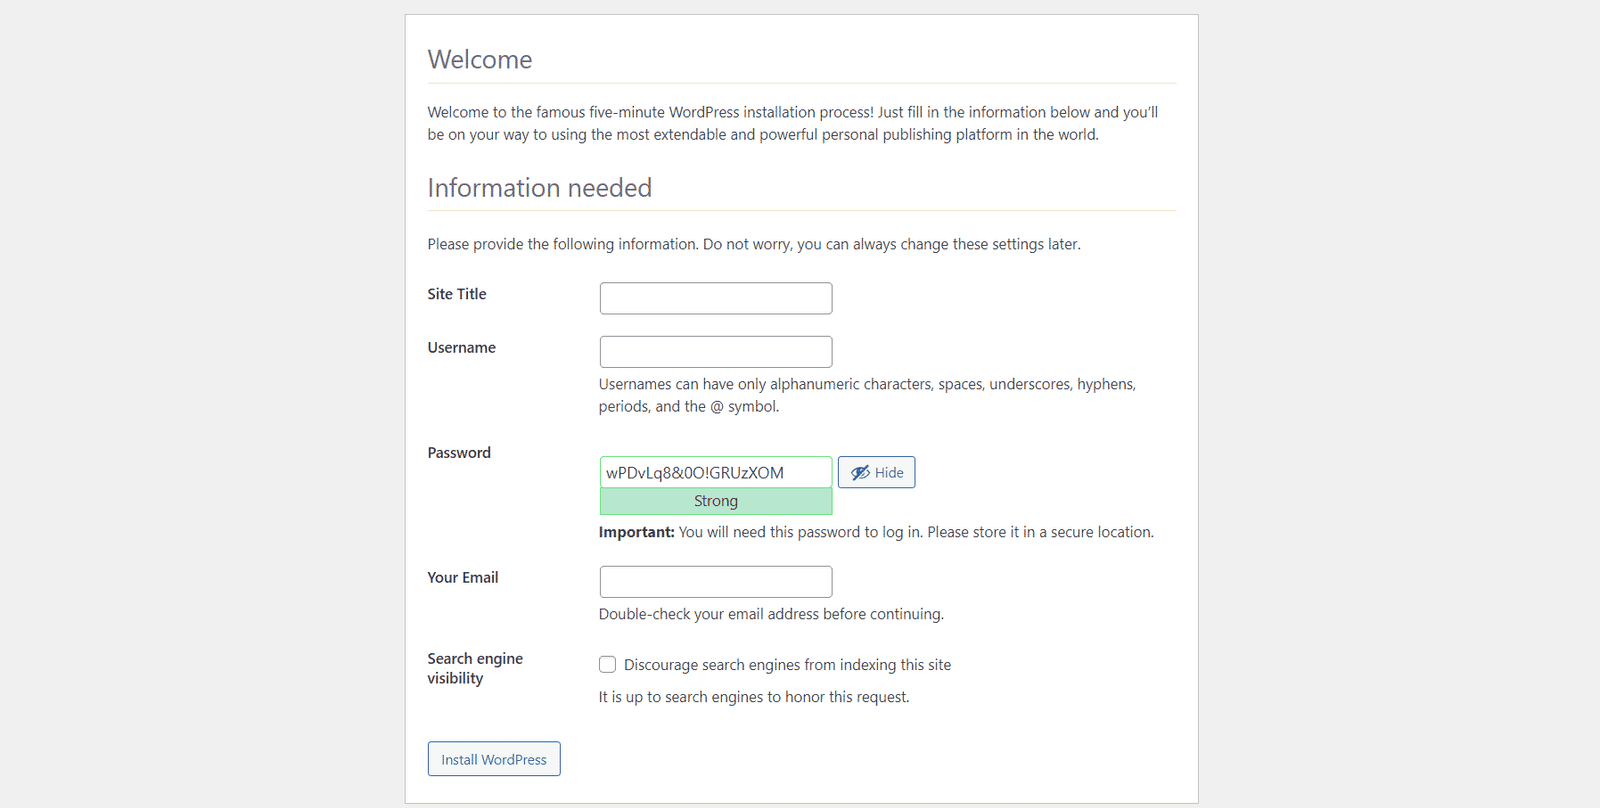
fill out the basic details which asked on that form, like Site name, user, Pass, email, and Search Engine visibility and click on Install WordPress, That’s it. Now your website is live, to check the website type “localhost/websitename” in your web browser. you can work on it as you do on a live website.